
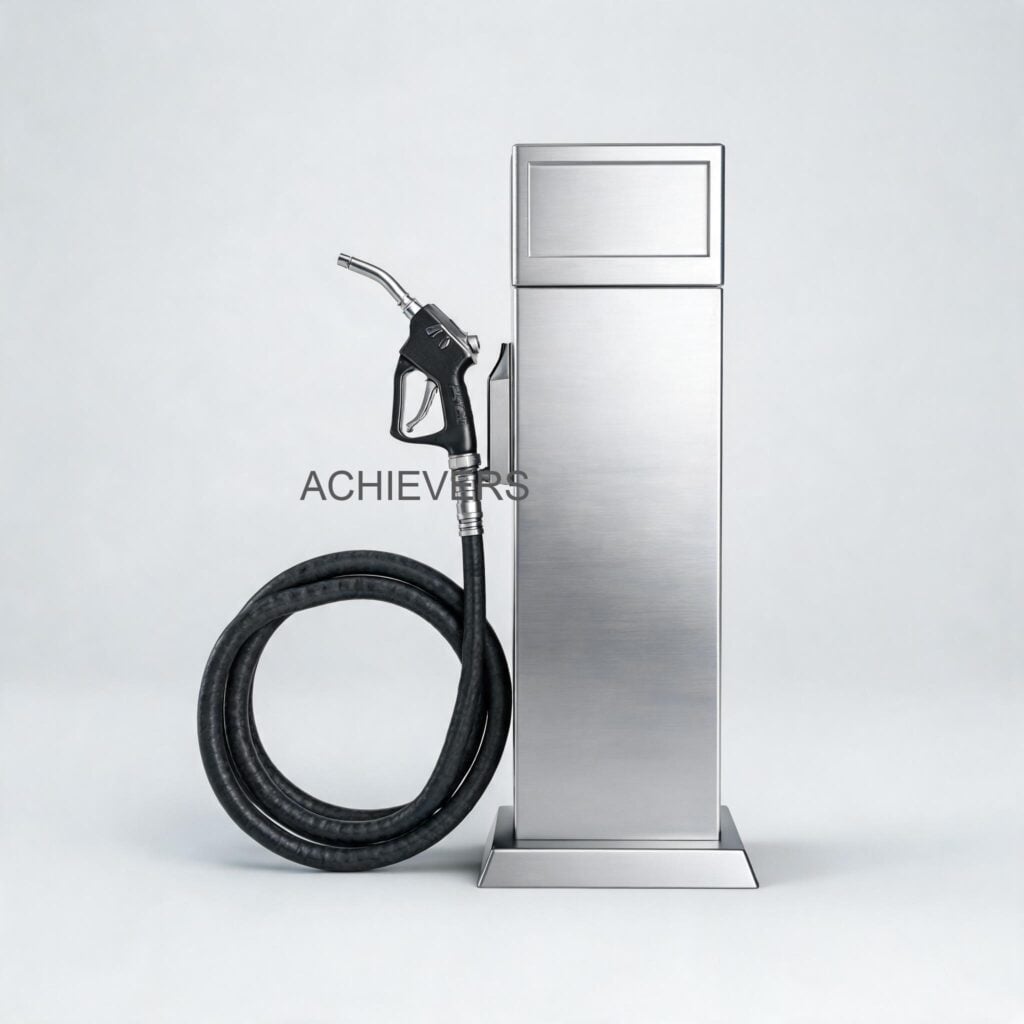
Whether managing a busy logistics yard in a Gujarat Industrial Development Corporation (GIDC) estate or operating a remote mining facility abroad, equipment downtime is incredibly costly. For fleet operators, plant managers, and industrial engineers, accurate fuel tracking is non-negotiable. When your fuel dispensing system fails—whether the meter stops counting, the display shows incorrect totals, or the system resets mid-fuelling—it directly impacts your bottom line, delays operations, and creates fuel accountability risks.
Proper Diesel Dispensing system troubleshooting in India for industrial sites, as well as global facilities, requires a methodical approach. Before replacing expensive parts or halting your fleet, understanding the root cause of these electrical, mechanical, and hydraulic issues is critical. This guide provides a technically accurate, step-by-step diagnostic process to help you standardise maintenance checks, quickly resolve common faults, and protect your fuel inventory.
1. Quick Reference: How Diesel Dispensing Works
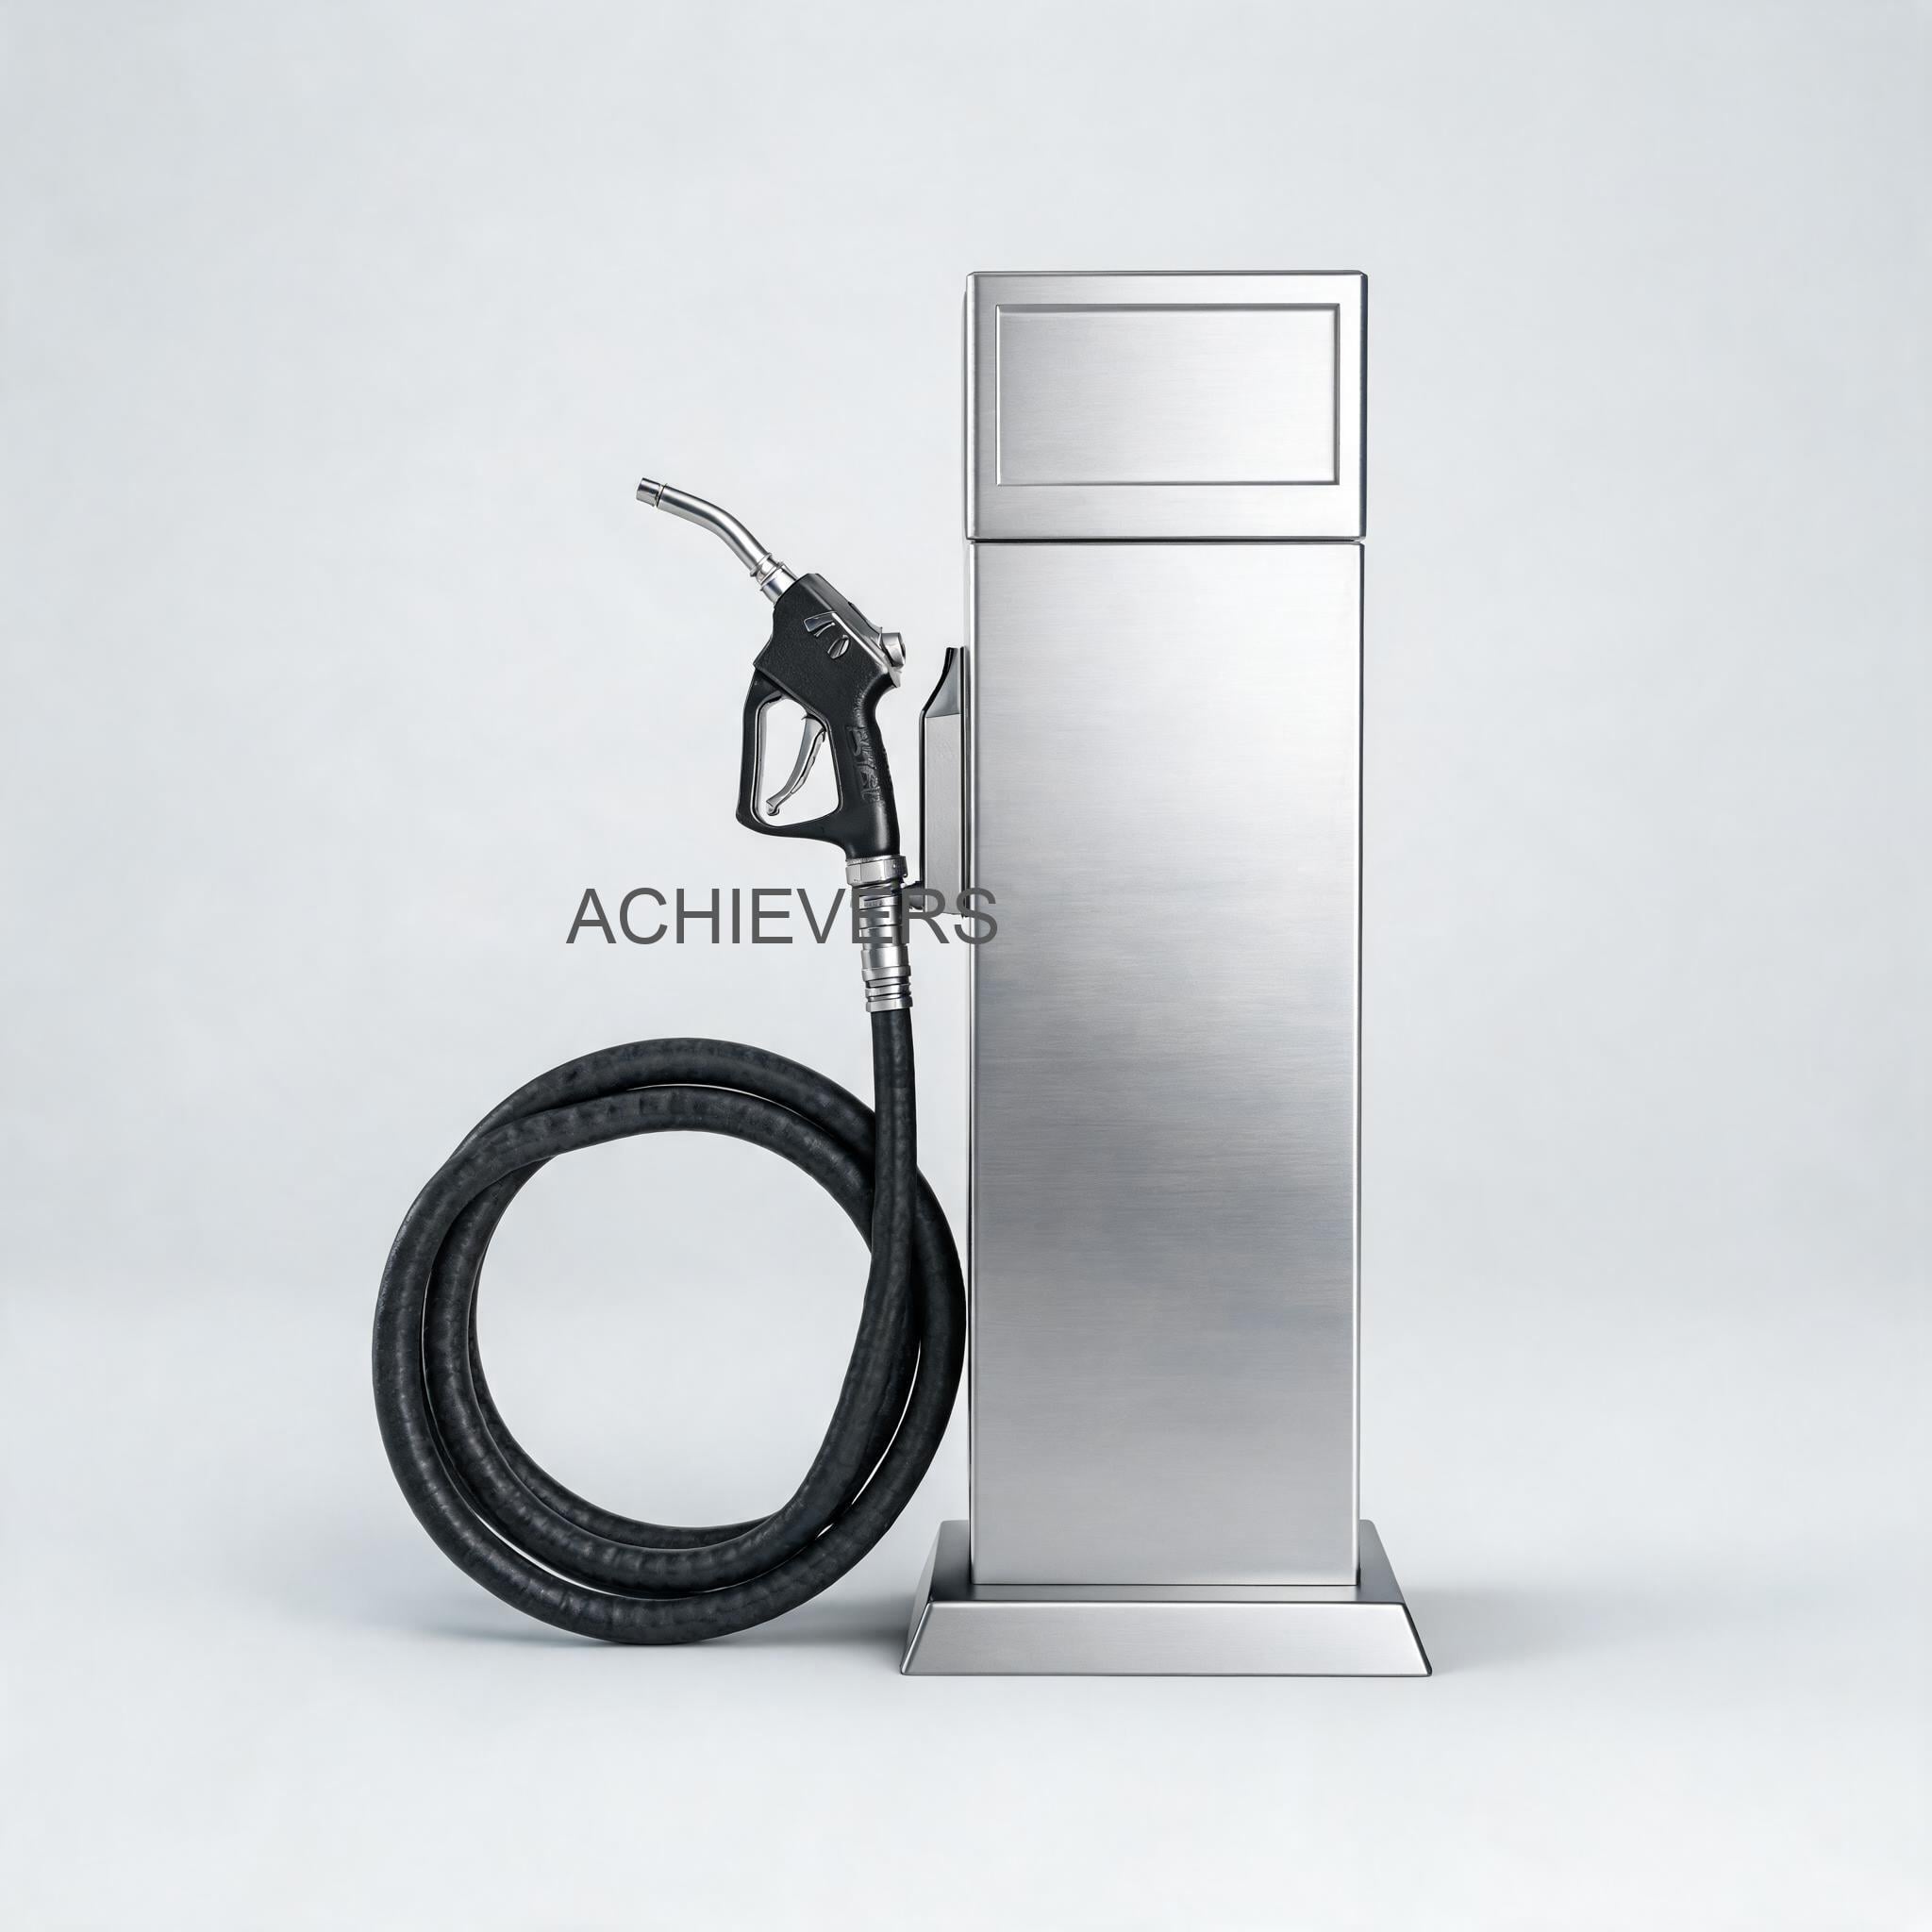
To troubleshoot effectively, you must understand the system's operational flow. A standard Diesel Dispensing unit is an independent, demountable fuel administering system designed for low-to-medium volume metered deliveries. It typically includes a pump, a high-accuracy flow meter, a control processor, and a hose reel terminating in an automatic shutoff fuel nozzle.
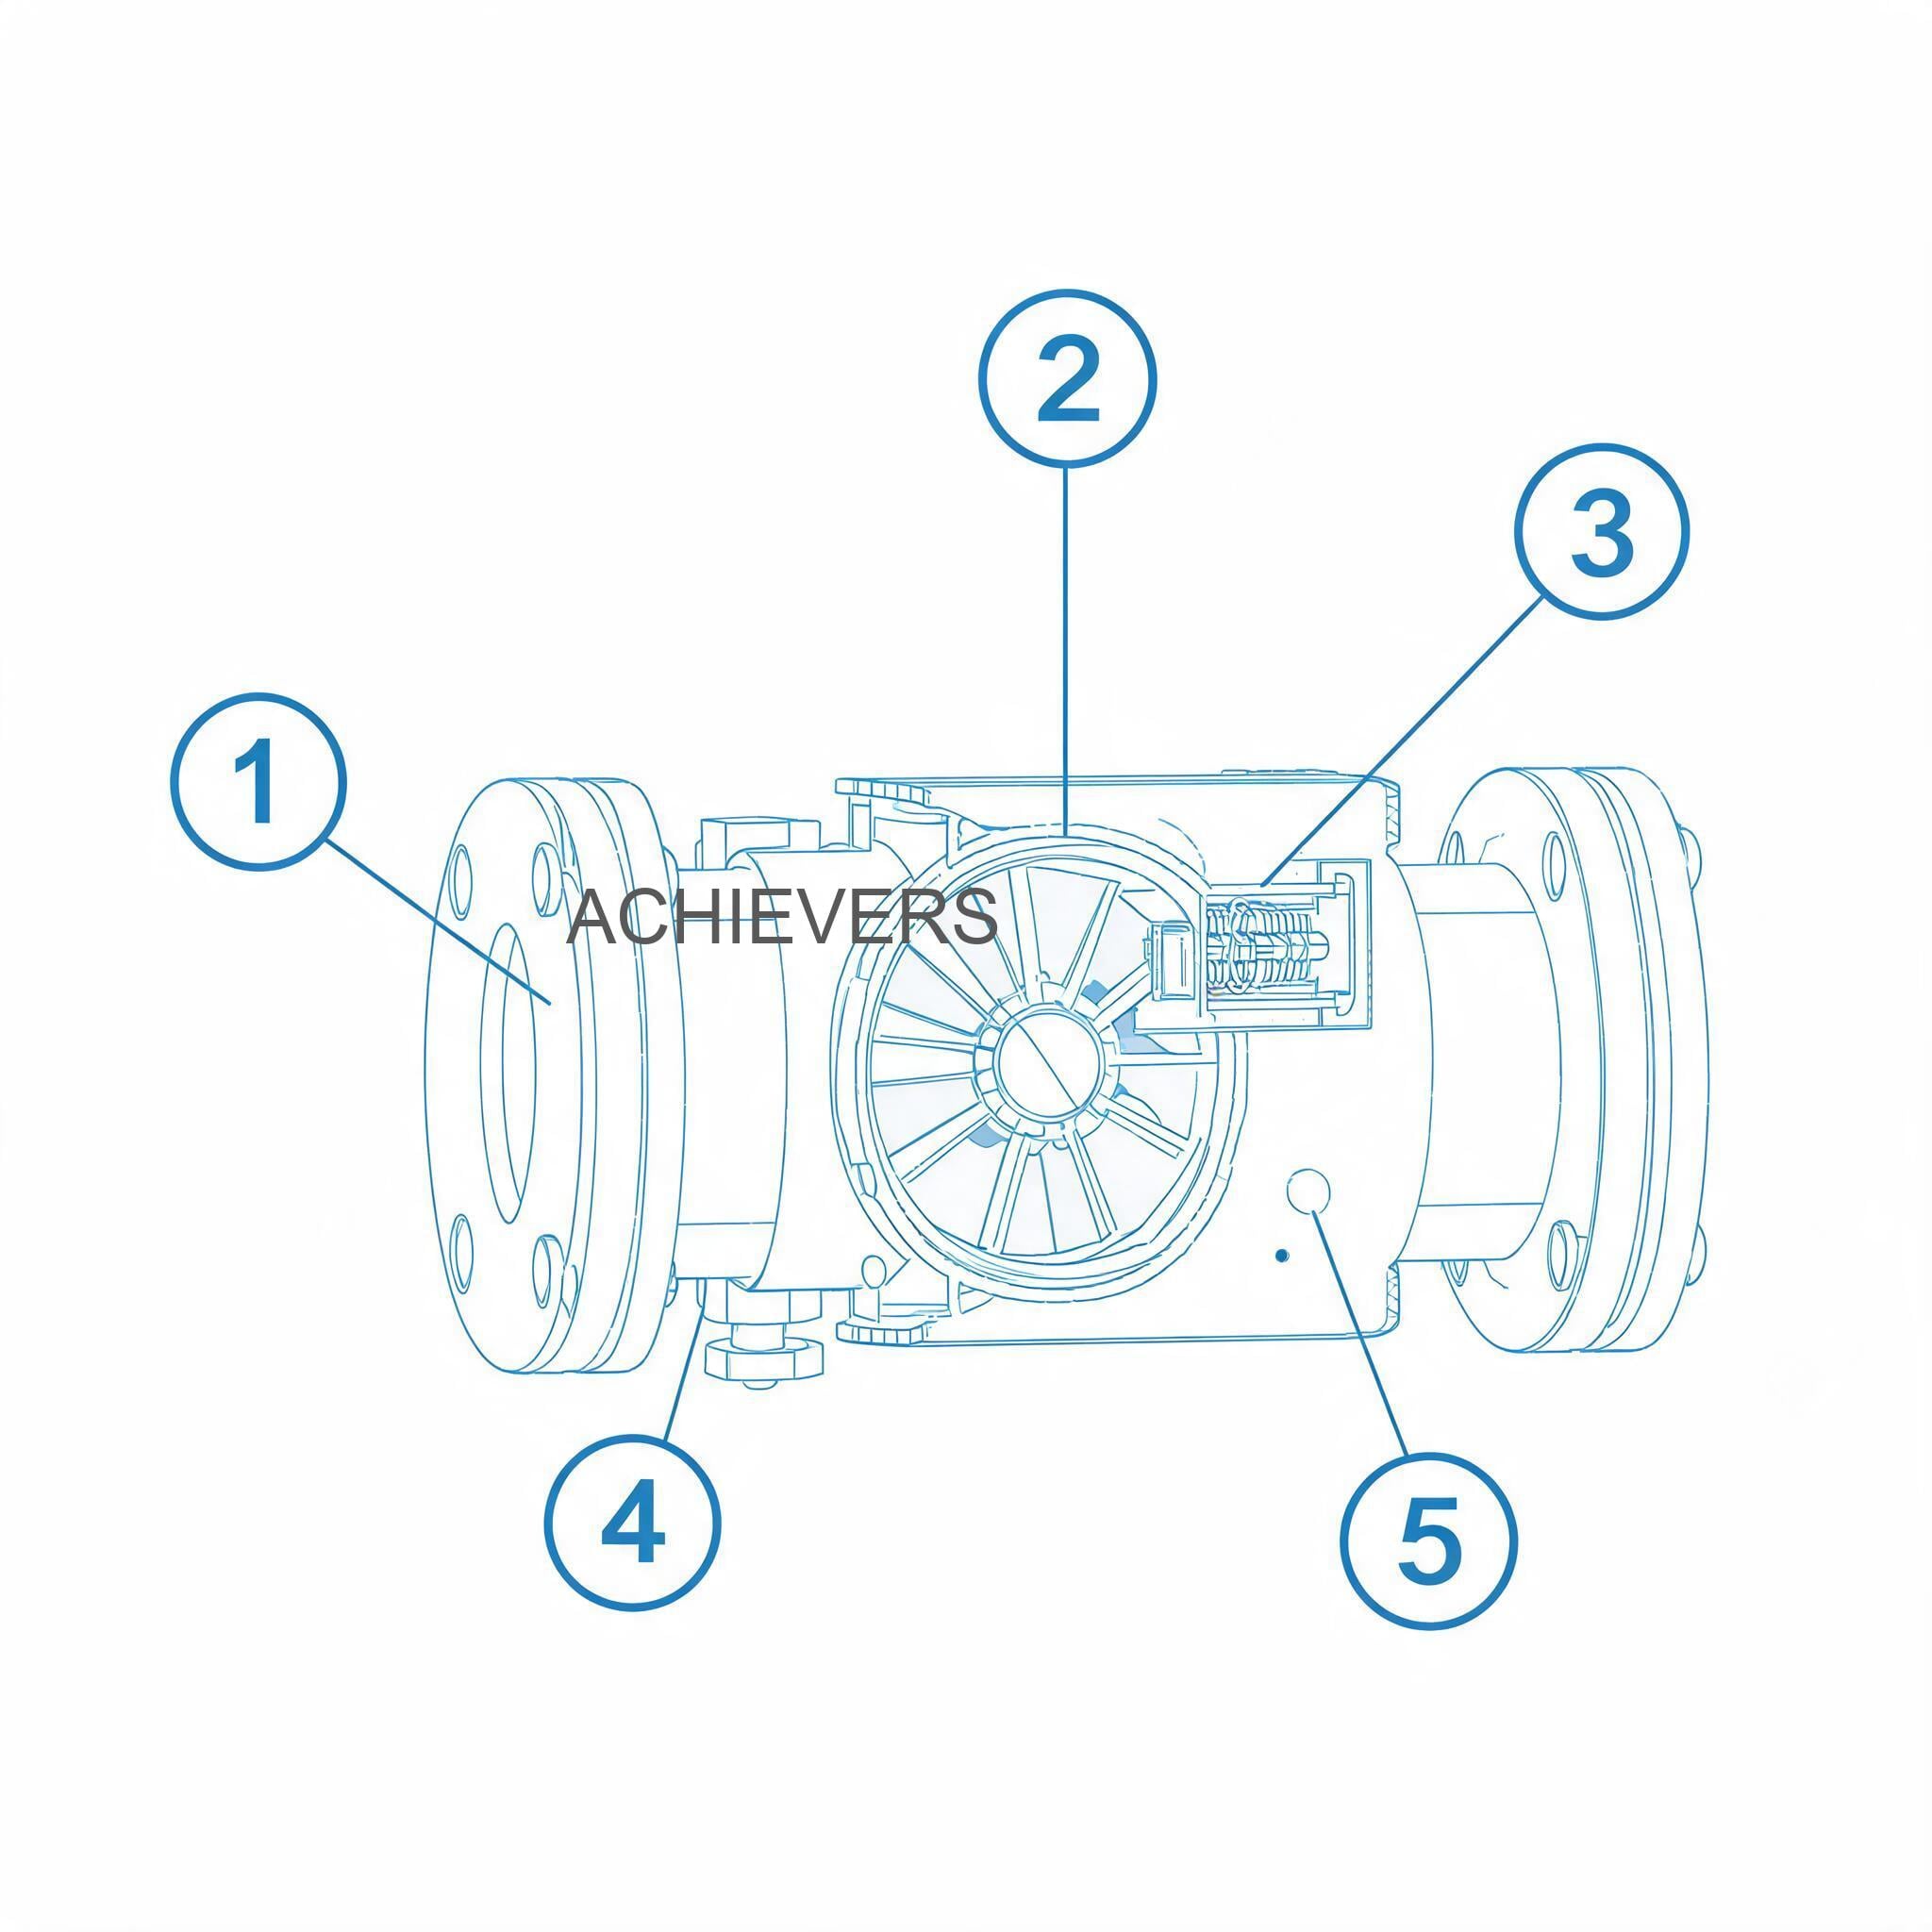
When power is supplied (options include DC12V, DC24V, AC220V, or AC380V), the internal processor activates. Upon lifting the nozzle, the 60 Lpm pump draws diesel from the tank, pushing it through the flow meter. The meter's internal mechanism (often a positive displacement or turbine design) rotates, sending electrical pulses to the processor. The processor calculates the volume based on these pulses, updates the digital display, and logs the transaction into its 128kB memory (which stores up to 365 days of daily data and 12 months of monthly data).
In Simple Terms:
Think of your dispenser as a three-part team. The Pump is the muscle that moves the liquid. The Meter is the brain's sensory organ that feels how much liquid passes through. The Processor/Display is the brain that counts the signals, saves the data, and shows you the final bill. If any one of these stops talking to the others, you get counting errors or system failures.
Below is a technical specification summary of standard dispenser models (such as the CE-204 with printer, CE-202, and CE-130) to reference during troubleshooting:
| Specification Parameter | Standard Operational Value / Range |
| — | — |
| Flow Range | 20 to 80 Litres/min (Standard pump: 60 Lpm) |
| Volumetric Accuracy | Max error < ±0.30% (Repeatability: 0.15%) |
| Max Working Pressure | ≤ 0.3 MPa |
| Environmental Limits | Humidity: -30℃ to +45℃, Relative Humidity: ≤95% |
| Acoustic Noise Limit | ≤ 80dB (A Class) |
| Digital Capabilities | 128kB memory, Receipt Printer optional |
2. Troubleshooting Matrix
When encountering issues on the plant floor, refer to this detailed diagnostic matrix. It covers the most common mechanical and electronic failures.
| Symptom | Likely Cause | Diagnosis Steps | Fix |
| — | — | — | — |
| Meter not counting (Zero reading) | Pulse wire broken or sensor failure | Check continuity of wires between meter and CPU using a multimeter. Inspect sensor for physical damage. | Repair or replace pulse wiring; replace sensor if unresponsive. |
| Wrong totalizer reading (Over-counting) | Air ingress in suction line | Check all suction side joints, flanges, and hoses for tiny leaks. Look for bubbles in fuel. | Tighten all suction connections; replace worn O-rings; prime the pump. |
| Wrong totalizer reading (Under-counting) | Internal meter wear or bypass leak | Perform volumetric test into a certified 20L calibration measure. Check internal meter vanes/gears. | Clean the meter chamber. If badly worn, replace measuring element or recalibrate CPU. |
| Sudden reset during dispensing | Power fluctuation or poor earthing | Monitor voltage supply. Check the earthing rod and ground connection to the dispenser chassis. | Install a voltage stabilizer. Secure earth connections to eliminate static discharge. |
| Display is completely dead | Blown fuse or faulty power supply board | Isolate power. Check main incoming voltage. Test internal glass fuses on the CPU board. | Replace blown fuse (ensure correct amp rating). Replace power board if burnt. |
| Pump runs but no flow | Dry running, blocked filter, or empty tank | Verify tank level. Open and inspect the inline suction strainer/filter for sludge or debris. | Fill tank. Clean or replace the strainer element. Prime the system. |
| Excessive noise (>80dB) | Cavitation, loose mounting, or worn bearings | Listen to the pump. Check if suction lines are too long or restricted. Inspect skid mounting bolts. | Shorten suction line, increase pipe diameter, or tighten base bolts. Replace bearings if grinding. |
| Fuel leaking from cabinet | Damaged mechanical seal or loose pipe fitting | Open cabinet panels, run the pump under pressure, and visually trace the leak source. | Tighten fittings, apply thread sealant, or replace the pump's mechanical shaft seal. |
| Nozzle fails to shut off | Blocked vent hole on automatic nozzle spout | Inspect the small sensor hole at the tip of the 1" dispensing nozzle for dirt or hardened grease. | Clear the vent hole with a fine pin and blow out with compressed air. |
| Historical data missing | Corrupted 128kB memory or dead backup battery | Access the supervisor menu to check data logs. Measure voltage on the CPU's coin-cell battery. | Replace the internal memory backup battery. Re-enter site parameters. |
3. Step-by-Step Field Diagnosis Procedure
When performing Diesel Dispensing troubleshooting, a logical, step-by-step approach ensures safety and accuracy. Equip your maintenance team with a digital multimeter, a certified 20L volumetric testing can, standard hand tools, and a pressure gauge.
Step 1: Isolate and Verify Power Supply
Before opening the cabinet, verify the site's power supply matches the unit's rating (DC12V/DC24V for mobile skids, AC220V/AC380V for static plant installations). Use a multimeter to ensure the voltage is stable. Voltage drops during pump startup can cause CPU resets. Implementing a reliable Diesel Dispensing sudden reset power fluctuation solution often starts with dedicated wiring directly from the main breaker.
Step 2: Inspect the CPU and Display Board
Open the electronics cabinet. Look for loose ribbon cables, burnt components, or moisture ingress. Ensure that the environmental conditions haven't exceeded the -30℃ to +45℃ rating, which can damage LCD screens.
Step 3: Check Pump Suction and Flow Dynamics
Attach a vacuum gauge to the pump's suction port. High vacuum indicates a blocked line or filter. If the pump runs dry, it will cause excessive noise and fail to push fuel through the meter.
Step 4: Bleed Air from the System
Air passing through the flow meter is the primary reason for a Diesel Dispensing wrong totalizer reading diagnosis. Because meters measure volume, they will count air bubbles as liquid fuel. Bleed the system thoroughly, checking all suction pipe joints and the primary tank foot valve.
Step 5: Test the Sensor and Pulse Generator
If you are dealing with diesel dispensing meter not counting causes and fixes, the pulser is usually the culprit. Disconnect the pulser from the meter. Manually rotate the pulser shaft (if accessible) while observing the digital display. If the display counts, the meter internals are stuck. If it doesn't count, the pulser or wire is dead.
Step 6: Inspect the Meter Chamber
Bypass the power, close the isolation valves, and carefully open the meter face. Look for rust, grit, or debris jamming the gears. Clean the chamber using compressed air and clean diesel. Never use abrasive tools inside a high-accuracy (±0.30%) flow meter chamber.
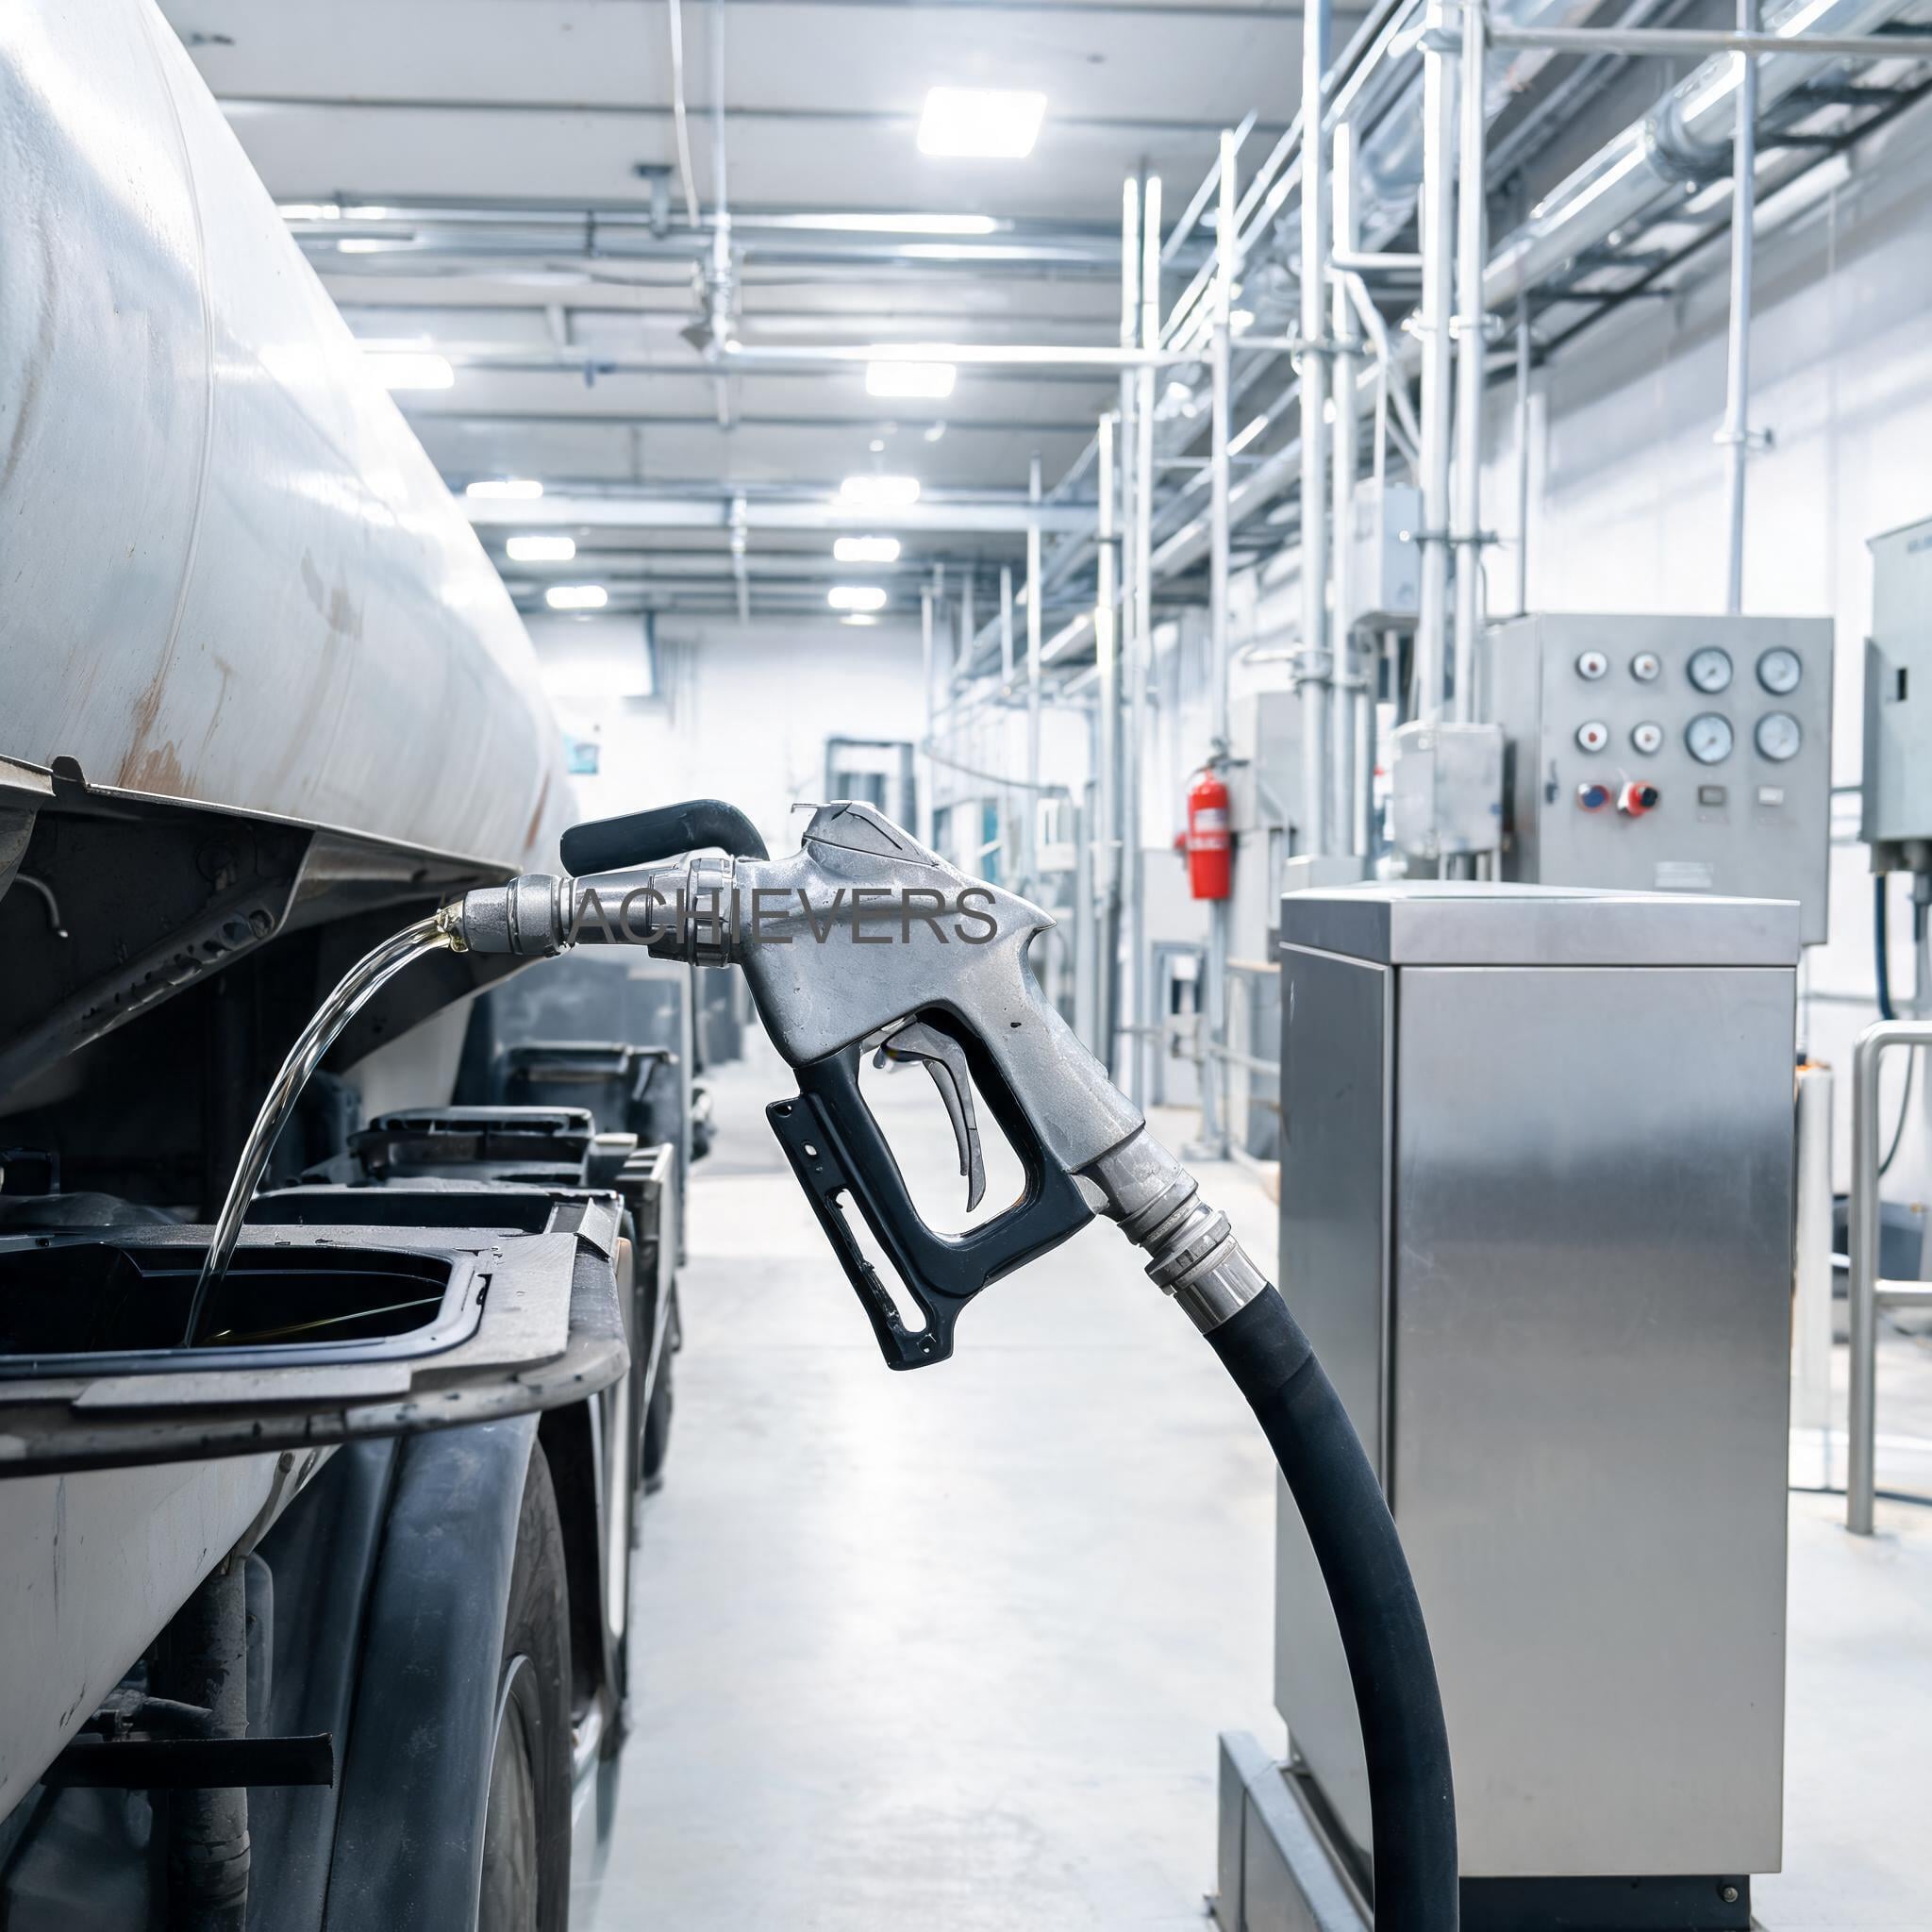
Step 7: Check the Hose and Nozzle
Examine the 4m x 25mm rubber conveyance hose for kinks or bulges, which can spike the internal pressure up to the ≤0.3MPa limit, causing premature pump wear. Ensure the 1" automatic shutoff nozzle clicks off smoothly when fuel reaches the tip.
Step 8: Perform a Volumetric Calibration Test
Dispense fuel into a certified, stamped 20L measuring can. Compare the volume in the can to the display reading. If the repeatability error is within 0.15% but the absolute volume is off, use the CPU's calibration menu to adjust the electronic K-factor to bring it back to baseline.
4. Installation and Setup Errors That Cause Ongoing Problems
Many recurring faults are not hardware defects but symptoms of poor initial installation. Whether you are installing a unit at a local manufacturing plant or a remote construction site, avoiding these common errors will drastically reduce maintenance calls.
| Setup Error | Resulting Symptom | Corrective Action |
| — | — | — |
| Undersized Suction Piping | Cavitation, loud pump noise, low flow rate (well below 60 Lpm). | Replace suction piping with a diameter equal to or larger than the pump inlet. Minimise elbows. |
| Omission of Line Strainer | Meter jams, damaged pump vanes, scored meter chamber. | Install an inline Y-strainer or dedicated fuel filter before the pump inlet. |
| Improper Earthing / Grounding | Display resets mid-fuelling, erratic counting, static shocks to operators. | Drive a dedicated copper earth rod. Bond the dispenser chassis and tank to the earth point. |
| Exposure to Direct Sunlight/Heat | LCD display turns black, electronics overheat, thermal expansion of fuel affects accuracy. | Install a canopy or shade over the dispenser to keep ambient temperatures within the +45℃ limit. |
| Incorrect Wiring Polarity (DC Models) | Pump runs backwards (no suction) or blows internal safety fuses. | Verify battery terminal polarity (+/-) for DC12V/DC24V mobile setups before powering on. |
| Rigid Piping on Mobile Skids | Vibration fractures pipes, leading to severe air leaks or fuel spills. | Use flexible, rated fuel hoses for connections between the tank and dispenser on mobile platforms. |
To ensure compatibility across your fluid transfer systems, refer to a comprehensive Diesel Dispensing supplier specifications checklist for buyers to ensure hoses, nozzles, and Fuel Transfer Pumps are correctly matched to the dispenser's operating pressure.
5. Preventive Maintenance to Avoid Recurrence
A robust preventive maintenance (PM) schedule protects your investment and ensures adherence to local and international weights and measures standards (including ISO, CE, and BIS standards where applicable). Proper maintenance ensures that high-accuracy systems remain dependable for years.
Daily/Weekly Checks:
- Visually inspect the 4m rubber hose for abrasions or cuts.
- Ensure the 1" administering spout is clean and the automatic shutoff functions correctly.
- Check the daily transaction printouts (if the receipt printer is equipped) to ensure the 128kB memory is logging data correctly.
Monthly/Quarterly Checks:
- Clean the inline suction strainers.
- Verify the accuracy using a standard test measure.
- Check base mounting bolts for tightness, especially on mobile, van, or truck-mounted demountable tanks subjected to road vibrations.
- Test the power supply stability.
Annual Maintenance:
- Inspect internal pump vanes for wear.
- Drain and flush the meter chamber.
- Conduct a formal calibration.
Make in India Context & Local Procurement:
For plant managers upgrading their systems, sourcing robust, locally manufactured equipment offers significant advantages. Manufactured under Make in India initiatives, modern dispensing units meet global CE and ISO standards while remaining highly accessible.
Typical Indian market price range: Expect a GST-inclusive cost ranging from ₹45,000 to ₹1,20,000 + 18% GST, depending on the configuration (e.g., standard preset vs. CE-204 models with integrated receipt printers, 365-day digital memory, and multi-voltage power options). Local sourcing drastically cuts down import lead times and ensures rapid availability of spare parts like pulser sensors and Fuel Flow Meters.
6. When to Call Service vs. Fix Yourself
Knowing your team's limitations prevents accidental damage to precision equipment.
Fix it Yourself:
- Cleaning strainers and replacing filters.
- Changing damaged delivery hoses or automatic nozzles.
- Bleeding air out of the suction lines.
- Replacing external blown fuses or tightening electrical connections.
- Basic K-factor electronic calibration adjustments.
Call the Manufacturer / Authorised Service:
- The system requires official Weights & Measures recalibration and sealing.
- The CPU board requires replacement or component-level soldering.
- The internal measuring elements of the flow meter are heavily scored or damaged.
- The pump's mechanical seal fails and requires specialized pressing tools to replace.
- Data extraction from corrupted 128kB memory modules is needed.
FAQ
Q: Why does my dispenser suddenly reset while filling a vehicle?
A: Sudden resets are almost always caused by voltage drops or poor earthing. When the heavy machinery's starter motor engages, or if the grounding is inadequate, the electrical interference causes the CPU's safety protocol to reboot the system. Ensure dedicated, stable power and firm earth connections.
Q: The digital display counts, but no fuel is coming out of the nozzle. What is wrong?
A: If the meter counts but there is no liquid, the system is pumping pure air. You have a massive leak on the suction side of the pump, or your primary storage tank is completely empty. Turn off the pump immediately to prevent dry-running damage.
Q: Can I use this system to dispense highly corrosive chemicals?
A: No. These units are specifically designed for fluid fuels, lubes, and non-destructive oil fluids. Pumping water or corrosive chemicals will rust the internal steel/cast iron components and destroy the meter's precision.
Q: How often should I calibrate the meter?
A: In standard industrial environments, calibrate the unit every 6 to 12 months using a certified volumetric can. If the system is subjected to high vibrations (like truck-mounted mobile units), check calibration quarterly.
Q: The pump is making a loud rattling noise and dispensing very slowly. How do I fix it?
A: This is likely cavitation caused by restricted flow on the suction side. Check and clean the inline strainer. Ensure the suction pipe isn't collapsed, kinked, or undersized.
Q: Is it safe to leave the mobile dispenser outdoors year-round?
A: While enclosed in rugged stainless steel or powder-coated cabinets, extreme weather can damage the electronics. Keep the unit protected from direct, intense sunlight and heavy monsoon rains to ensure the environmental condition limits (-30℃ to +45℃) are respected.
Q: The receipt printer stopped working. Do I need to replace the whole display?
A: No. Usually, printer faults are due to paper jams, an empty paper roll, or a disconnected internal ribbon cable. Check these first. If the printer mechanism is entirely dead, it can typically be replaced as an individual modular component.
If your plant operations are suffering from inaccurate fuel tracking or persistent equipment downtime, it's time to upgrade to a reliable, precision-engineered system. Contact our engineering team today to discuss your specific flow rate requirements, site conditions, and application needs, and let us help you configure the ideal dispensing solution for your facility.